目次
概要
VirtualBox、Vagrantを使用して、RubyOnRailsの開発環境を構築していきます。
事前準備
RubyOnRailsの開発環境構築を構築するために、必要となるソフトウェアを紹介します。
OracleVM VirtualBox
VirtualBoxとは、自身のパソコン上に、仮想マシン(仮想環境)を構築するためのオープンソースソフトウェアです。 まだダウンロードしていない方は、こちらを参考にダウンロードしてください。
Vagrant
Vagrantとは、「仮想マシンを簡単に構築・操作できるようにするソフトウェア」です。 まだ、ダウンロードしていない方は、こちらを参考にダウンロードしてください。
私の使用している環境
- Windows11
- Virtual Box 3.1.34
- Vagrant 2.2.19
Amazon Linux2のVagrant Boxを作成する
最終的にAWS EC2にデプロイすることを考え、AmazonLinux2の仮想環境を構築していきます。
まずは、Vagrantfileを作成するためのフォルダを作成します。 Vagrantfileとは、仮想環境を生成するために必要な情報が記載されたファイルです。 フォルダの作成場所は任意です。私は以下のパスにフォルダを作成しました。
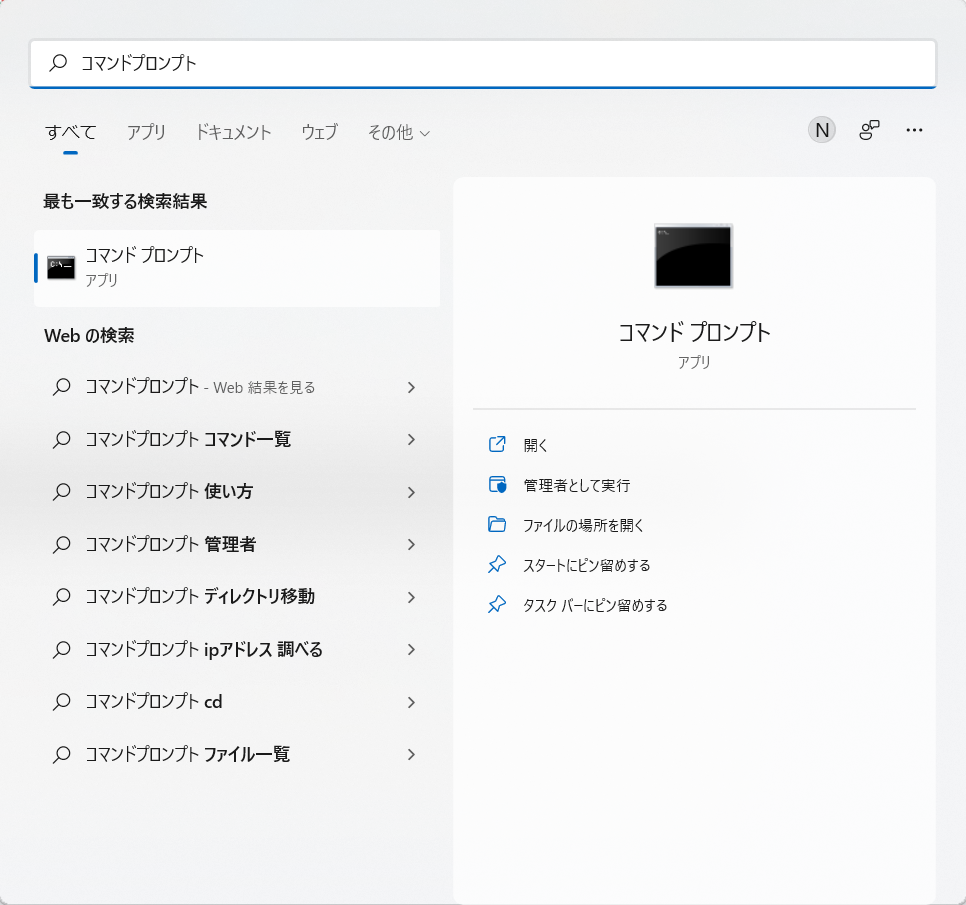
C:\vBoxフォルダが作成できたら、スタートメニューからコマンドプロンプトを開いてください。

以下のコマンドでカレントディレクトリを変更します。
「cd 」以降のコマンドは適宜先ほど作成したフォルダのディレクトリに変更してください。
cd C:\vBox以下のコマンドを実行して、Vagrantfileを作成してください。
vagrant init bento/amazonlinux-2以下のように表示されればOKです。
A `Vagrantfile` has been placed in this directory. You are now
  ready to `vagrant up` your first virtual environment! Please read
  the comments in the Vagrantfile as well as documentation on
  `vagrantup.com` for more information on using Vagrant.
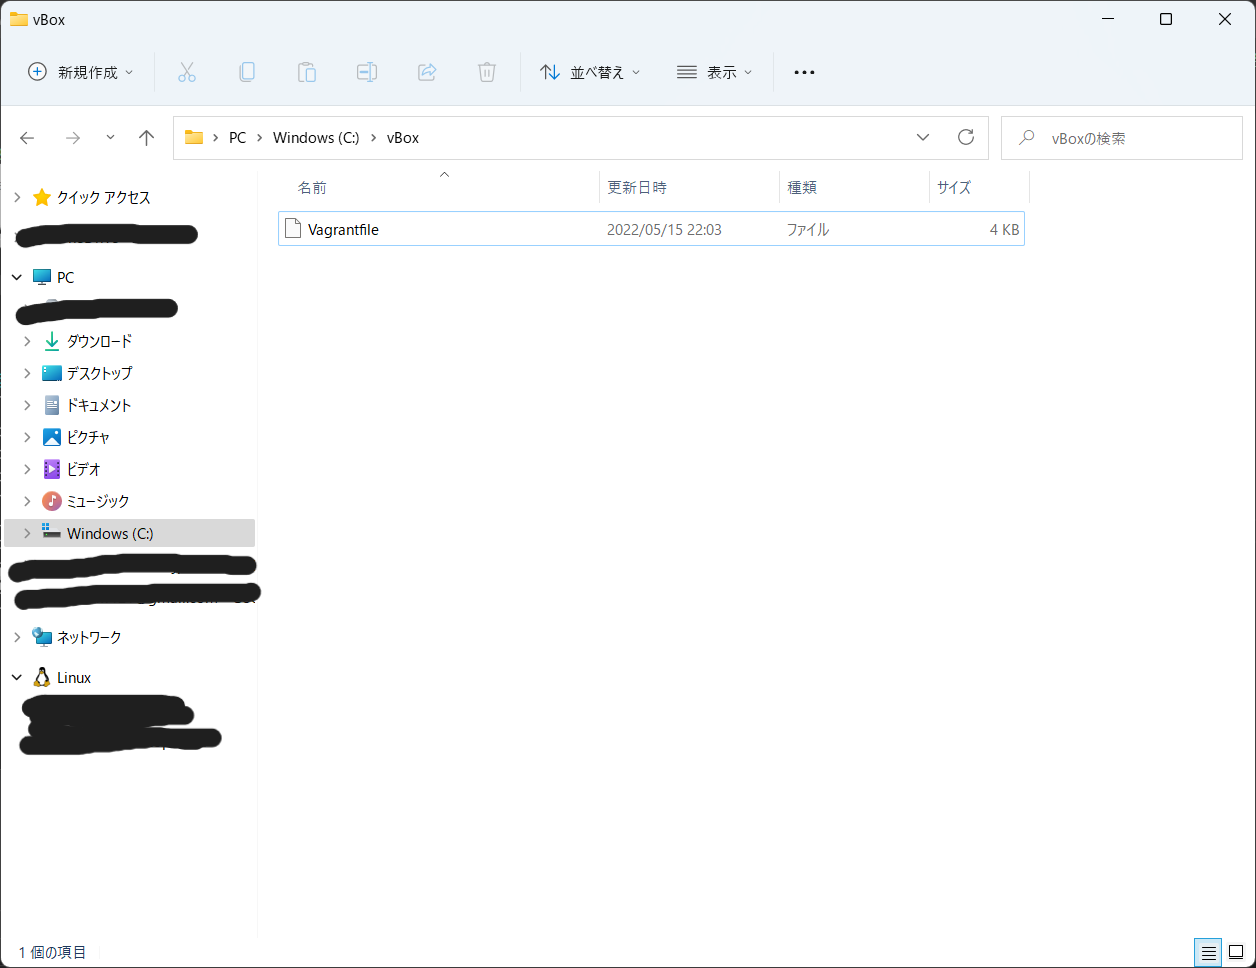
エクスプローラーで、「C:\vBox」のディレクトリを開いてください。 以下の画像のように、Vagrantfileが作成されているかと思います。

Vagrantfileを修正していきます。 Vagrantfileを開き、以下のようにVagrantfileを修正してください。
Vagrant.configure("2") do |config|

  config.vm.provider "virtualbox" do |vb|
      vb.name = "local"
      vb.memory = 2048
  end

  config.vm.box = "bento/amazonlinux-2"
  config.vm.network "private_network", ip: "192.168.33.11"
  config.vm.network "forwarded_port", guest: 3000, host: 3000
end
各行のの説明をしていきます。
以下の記載は、VagrantfileをVagrantのバージョン2であるという意味です。
Vagrant.configure("2") do|config|以下の記述で、VirtualBox内の基本設定を変更しています。 具体的には、作成するVirtualBoxの名前を「local」に、メモリ容量を2048MBに変更しています。 ※VirtualBoxの名前は任意で変更して大丈夫です。
    config.vm.provider "virtualbox" do |vb|
  vb.name = "local"
  vb.memory = 2048
end
以下の記述で、VirtualBoxを作成する時のBoxのイメージ名を指定しています。 Boxのイメージはこちらのサイトから検索可能です。 今回は、公式でも推奨されている、bentoを使用していきます。
For other users, we recommend the Bento boxes. The Bento boxes are open source and built for a number of providers including VMware, VirtualBox, and Parallels. There are a variety of operating systems and versions available.
引用:Boxes|Vagrant by HashiCorp
config.vm.box = "bento/amazonlinux-2"以下の記述で、プライベートIPアドレスを設定しています。以下の範囲であれば変更して頂いてもOKです。
10.0.0.0~10.255.255.255 172.16.0.0~172.31.255.255 192.168.0.0~192.168.255.255
config.vm.network "private_network", ip: "192.168.33.11"以下の記述で、ポートフォワーディングの設定を行っています。
config.vm.network "forwarded_port", guest: 3000, host: 3000先ほど同様、スタートメニューからコマンドプロンプトを開き、以下のコマンドでカレントディレクトリをVagrantfileのあるディレクトリに変更してください。
cd C:\vBox以下のコマンドで、仮想環境を作成、起動します。
vagrant up仮想環境が作成されるまで暫く待ちます。
Bringing machine 'default' up with 'virtualbox' provider...
  ==> default: Importing base box 'bento/amazonlinux-2'...
  ==> default: Matching MAC address for NAT networking...
  ==> default: Checking if box 'bento/amazonlinux-2' version '1.2.1' is up to date...
  ==> default: Setting the name of the VM: local
  ==> default: Clearing any previously set network interfaces...
  (省略)
  ==> default: Machine booted and ready!
  ==> default: Checking for guest additions in VM...
  ==> default: Configuring and enabling network interfaces...
  ==> default: Mounting shared folders...
    default: /vagrant => C:/vBox
起動が完了したら、以下のコマンドで、仮想環境に接続します。
vagrant ssh以下のような表示が出ていればOKです。
  __|  __|_  )
  _|  (     /   Amazon Linux 2 AMI
 ___|\___|___|

https://aws.amazon.com/amazon-linux-2/
91 package(s) needed for security, out of 134 available
Run "sudo yum update" to apply all updates.

This system is built by the Bento project by Chef Software
More information can be found at https://github.com/chef/bento
仮想環境の環境構築を行う
以下のコマンドで、タイムゾーンを設定します。
sudo timedatectl set-timezone Asia/Tokyo以下のコマンド、ロケールの設定を行います。
sudo localectl set-locale LANG=ja_JP.utf8
source /etc/locale.conf
以下コマンドで、初期状態でインスト―ルされているソフトウェアのアップデートを行います。
sudo yum update -yRubyのインストール
以下のコマンドでインストール可能なRubyのバージョンを調べます。
amazon-linux-extras list | grep ruby私の場合、以下のように表示されたので、rubyのバージョン2.6と3.0がインストール可能となります。
 39  ruby2.6                  available    [ =2.6  =stable ]
57  ruby3.0                  available    [ =stable ]
以下のコマンドで、Rubyをインストールします。
私はRubyのバージョン2.6をインストールしました。
sudo amazon-linux-extras install -y ruby2.6以下のコマンドで、Rubyがインストールできているか確認します。
ruby -v以下のような表示が出ていればOKです。
ruby 2.6.9p207 (2021-11-24 revision 67954) [x86_64-linux]Ruby On Railsのインストール
以下のコマンドで、関連RPMパッケージをインストールします。
sudo yum install -y ruby-devel rpm-build git gcc gcc-c++ zlib-devel openssl-devel rubygems-develRailsのバージョン3.1以降では、nodejsとyarnが必要ということなのでインストールします。
まずは以下のコマンドでnode.jsをインストールします。
curl -sL https://rpm.nodesource.com/setup_12.x | sudo bash -
sudo yum install -y nodejs
以下のコマンドでyarnをインストールします。
curl -sL https://dl.yarnpkg.com/rpm/yarn.repo | sudo tee /etc/yum.repos.d/yarn.repo
sudo yum install -y yarn
次に、SQLiteをインストールしていきます。 Amazon Linux 2 にはsqlite3のバージョン3.7がデフォルトでインストールされています。 このsqlite3はyumで利用しているらしく、削除することはできません。 しかし、Rails 6を動かすには、sqlite3のバージョン3.8以上が必要になります。 今回はバージョンの3.30.1をインストールします。
wget https://www.sqlite.org/2019/sqlite-autoconf-3300100.tar.gz以下コマンドで、ダウンロードしたZipファイルを解凍します。
tar xzvf sqlite-autoconf-3300100.tar.gz最初から入っているsqliteと競合しないように /opt/sqlite/sqlite3 にインストールします。
cd sqlite-autoconf-3300100
./configure --prefix=/opt/sqlite/sqlite3
make
sudo make install
以下のコマンドで、インストールしたSQLiteのバージョンを確認します。
/opt/sqlite/sqlite3/bin/sqlite3 --version以下のような表示が出ればOKです。
3.30.1 2019-10-10 20:19:45 18db032d058f1436ce3dea84081f4ee5a0f2259ad97301d43c426bc7f3df1b0b以下のコマンドでRuby On Railsをインストールします。 今回はRailsのバージョン6.0.4をインストールします。
gem install rails -v 6.0.4以下のコマンドでRailsがインストールできていることを確認してください。
rails -v以下のような表示が出て入ればOKです。
Rails 6.0.4動作確認
動作確認としてサンプルのアプリケーションを作っていきます。 まずは以下のコマンドを実行してアプリケーションを作成してください。
rails new test-app以下のようなエラーが出る場合は、「sudo gem pristine –all」を実行してください。
Ignoring bindex-0.8.1 because its extensions are not built. Try: gem pristine bindex --version 0.8.1sudo gem pristine --all以下のコマンドで、SQLiteのgemをインストールします。
gem install sqlite3 -- --with-sqlite3-include=/opt/sqlite/sqlite3/include --with-sqlite3-lib=/opt/sqlite/sqlite3/lib
echo 'export LD_LIBRARY_PATH="/opt/sqlite/sqlite3/lib"' >> .bash_profile
source .bash_profile
以下のコマンドを実行して、Gemfileからgemをインストールします。
cd test-app
bundle install
以下のコマンドを実行して、webpackerをインストールします。
rails webpacker:install以下のコマンドを実行して、Railsのサーバーを起動します。
rails s -b 0.0.0.0/0以下のように表示されていればOkです。
=> Booting Puma
  => Rails 6.0.5 application starting in development
  => Run `rails server --help` for more startup options
  Puma starting in single mode...
  * Version 4.3.12 (ruby 2.6.9-p207), codename: Mysterious Traveller
  * Min threads: 5, max threads: 5
  * Environment: development
  * Listening on tcp://0.0.0.0:3000
  Use Ctrl-C to stop
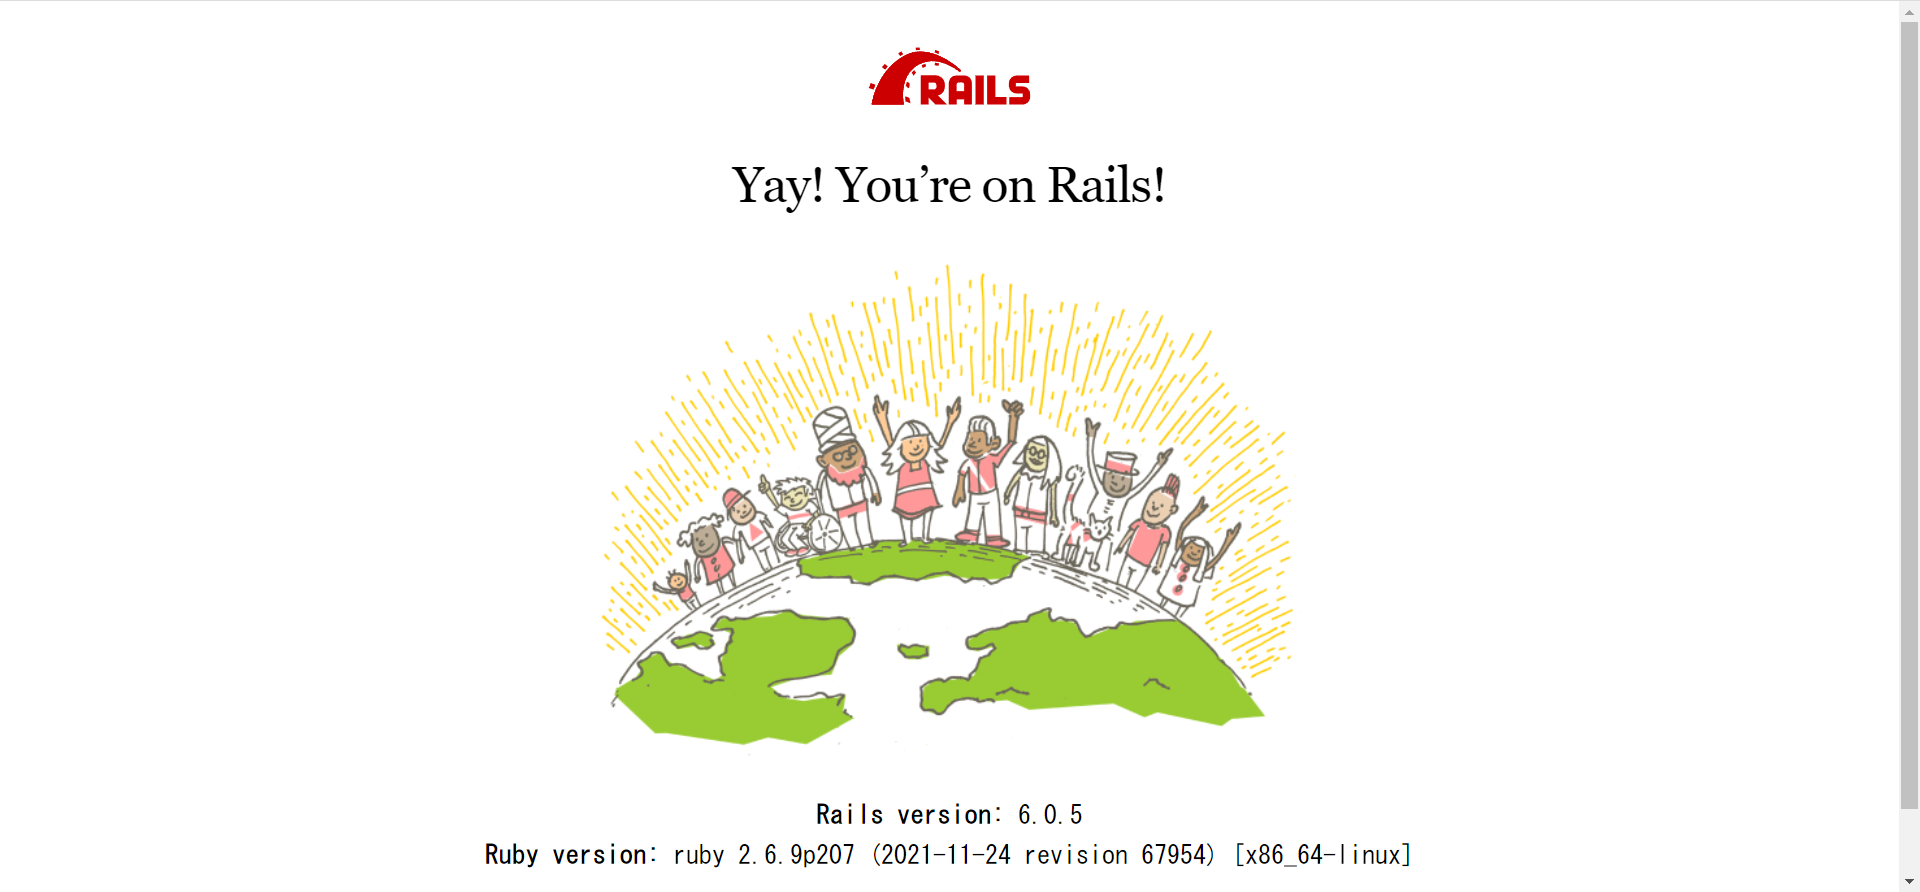
Webブラウザを開いて、URLのアドレスバーに「localhost:3000」と入力してEnterキーを押してください。 以下の画面が表示されていればOKです。

お疲れ様でした!!!